Accessing Processes:
Make sure the required permissions are enabled for your role.
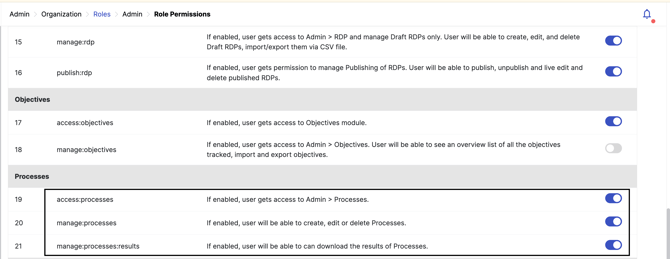
Then, navigate to Admin > Processes.
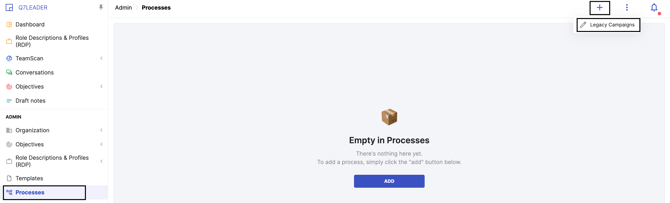
How to access your Previous Campaigns
You'll see a Legacy tab in the new Processes view as long as legacy campaigns still exist.
As a safeguard, any legacy campaign that remains open after 90 days will be automatically closed.
Before You Start: Two Concepts to Know
- Process: the overall initiative, e.g. “Q3 2026 Performance Review.” It's just a container.
- Campaign: a single activity (TeamScan, SelfScan, or Conversation) that lives inside a Process, with its own participants, dates, and reminders.
A Process can hold several Campaigns of different types, or several of the same type. For example, a TeamScan before training and another TeamScan after.
Steps to create a New Process:
Step 1: Create a Process
-
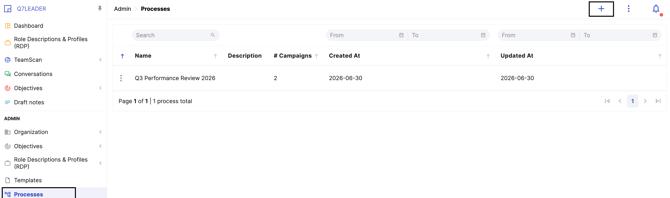
Navigate Admin > Processes.
-
Click the + at the top right to create a New Process.
-
Enter a name (e.g. “Talent Review”) and a short description.
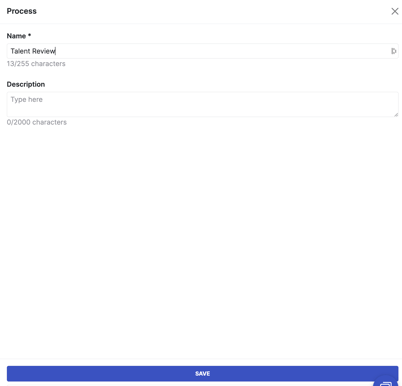
-
Click Save.
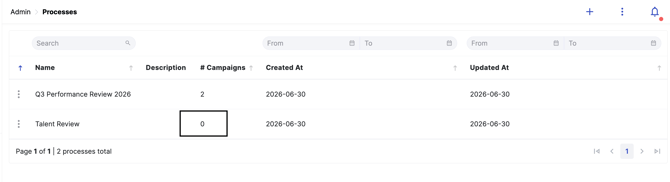
Your new Process appears at the top of the list, showing “0 Campaigns” until you add some.
Step 2: Add Campaigns to the Process
- Open your Process and click + New Campaign.

- Choose the activity type: TeamScan, SelfScan, or Conversation.
- Name the Campaign (e.g. “Q3 TeamScan — Sales Team”).
- Set a Start Date (when it opens) and an End Date (the communicated deadline).
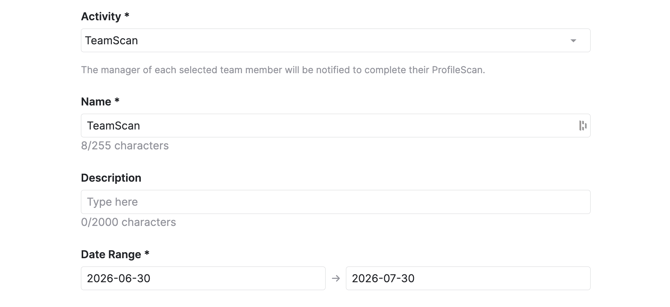
- For a Conversation Campaign, also choose the form template, this gets locked in once the Campaign starts.
- Select the checkboxes to allow late submissions and calibration submissions (TeamScan and SelfScan only). This lets participants continue submitting their responses after the campaign's end date.
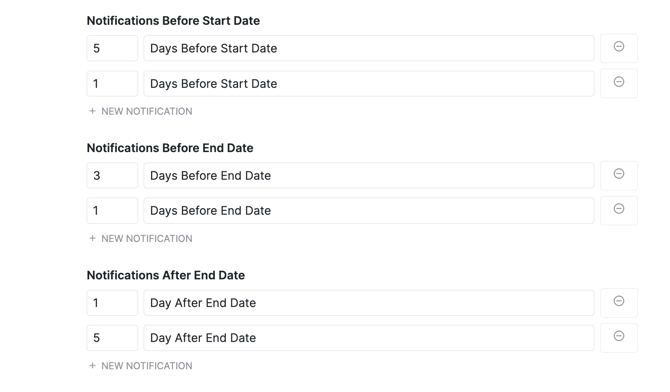
- Set up up to six reminders across the pre-start, pre-end, and post-end phases of your campaign. For each phase, you can configure up to two reminders by selecting how many days before the relevant date the notification should be sent.
- Click Save, and repeat for each activity you need.
A Start Date in the past is allowed, but you'll see a warning that automatic notifications won't fire retroactively.
Step 3: Add Participants
Participants are set on each Campaign individually, not on the Process: adding someone to your TeamScan Campaign does not add them to the SelfScan Campaign.
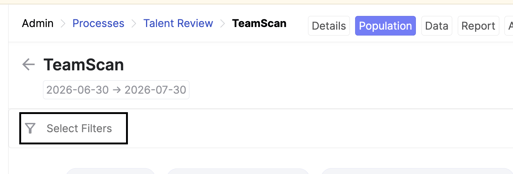
- In the campaign, go to the Population tab.

- To select the participants you want to include, use the filters under Select Filters or filter directly from the columns in the overview table.

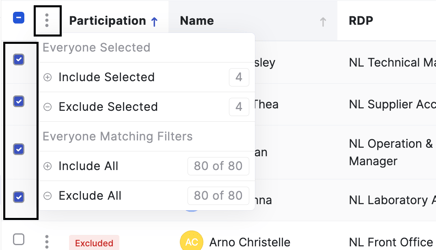
- Select the members you want to include, then click the three-dot menu to include or exclude them from the campaign.
- Click Save at the top right.
Reusing the Same Group with Saveable Filters
- Build your filter once.
- Click Save filter as and give it a name, e.g. “Sales Team: Full-time.”

- In the next Campaign, click Load filter and select that name to pre-select the same people.
On the campaign's Start Date, every participant automatically receives an Activity Request:
- The manager for a TeamScan
- The member for a SelfScan
- Both for a Conversation
The task will also appear in their Dashboard Agenda.
To learn more about managing your active processes and campaigns, please refer to this article.